This Halloween I pleaded with my mother to make me a recreation of these "stuffed pumpkins" which used to adorn our house every Hallow's Eve. She agreed naturally but under the condition that I aid in the creation of these magical gourds. So for you learning pleasure here are the pumpkins we created step by step :
Materials :
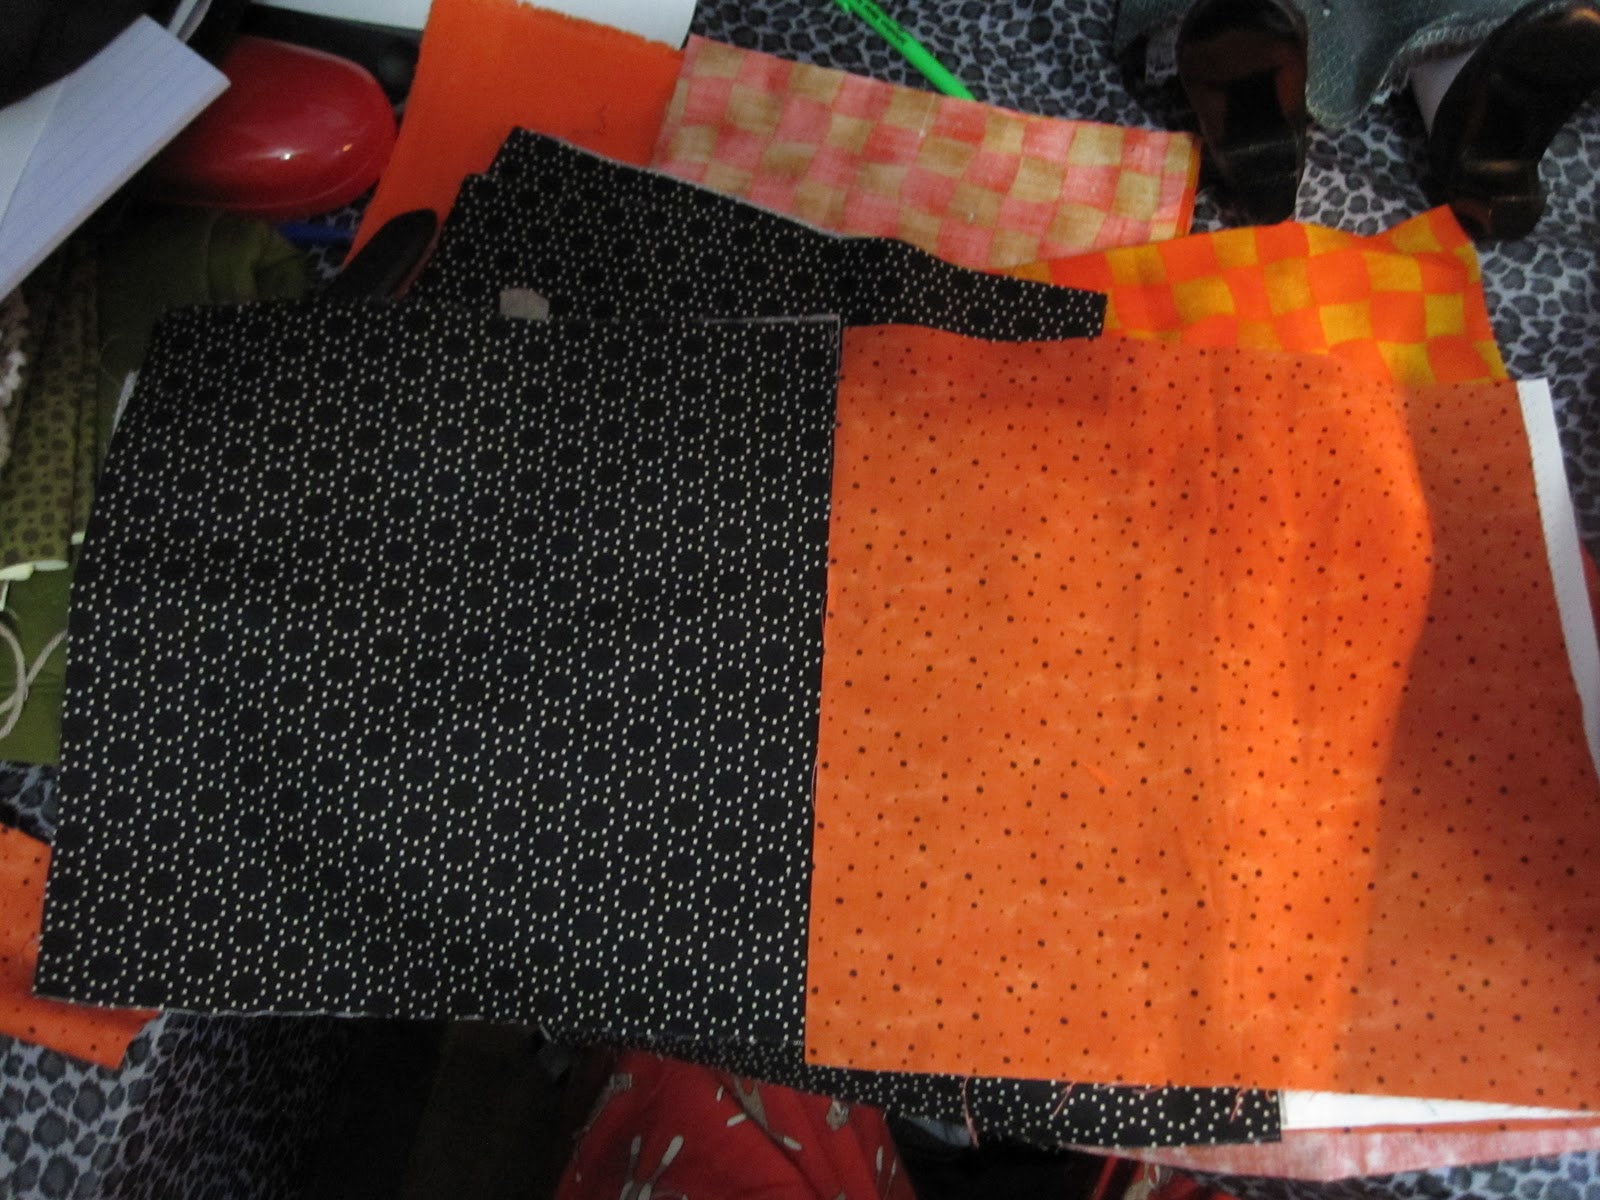
- 2 Halloween fabrics that go well together
-Sewing Machine
-Jute
-Old pens for curling jute
-Elastic Bands
-Cotton Stuffing
-Sewing needles and thread
-Green fabric (either plain or with simple designs)
-Thicker sticks found outside
- Glue Gun
1.) Pick two Halloween fabrics that look well together, and take a rotary cutter and cutting board (if you don't have scissors will work as well but just be a little bit harder), cut out 2 squares of each (4 in total that are all the same size). The squares should be approximently 26 cm by 22 cm, but as long as the squares are the same size, they can be off by a little bit.
Serge or sew on a machine, each opposing color's longer side together so that all the "fronts
are facing the inside (as shown above). And then sew a loose running stitch on the sewing machine around the top and bottom, so that when a loose thread is pulled the future pumpkin will bunch.
2.) Something that you might even want to get prepared before you start but definitely before you get any furthur is to grab your pens and wrap jute tightly around them (then fasten them with an elastic band at the end), soak them in water and then leave them on a towel to dry. You should also blow them with a hair dryer to speed up the drying proccess because they do take a long time to dry, and should be bone dry when you remove them from the pen or else they will lose their curl quickly.
3.) Then back to your pumpkins. Take that loose thread that you created at the top and bottom, and pull on it gently from both sides carefully (be careful not to break the thread), until you have a pretty closed bunch, which you can then sew (only do one side at this time!).
Take a sewing needle, and thread (you can either use the thread that is already attached that you were just pulling on to bunch up the fabric, or use some new thread), and pull the thread around the gathered fabric a few times, making sure that all the bunched ends are not tucked in (very IMPORTANT!), and then sew through the gathering a couple of time and then tie off. What you are trying to achieve here is that this will not some apart as it is a real pain later if it does, just make sure it is all tight and if you were to flip it the other way there would be no ends sticking out. It doesn't have to be pretty just functional.
4.) Next flip it the other way around (so you are looking at the pretty side!), and then start pulling on the other loose thread gently so that it starts to bunch as well (now it is actually starting to look like a pumpkin). Don't close it too much right away as you will still want to be able to fit your hand into the pumpkin to stuff it and that is what you will do next.


Stuff the pumpkin, but not so that it is super plump (unless that is what you are going for), but just make sure that the stuffing is evenly dispersed in the fabric before starting to sew it up. Again either take the thread you were just pulling on to tighten the pumpkin or some new thread, and pull it as tight as you can and then start sewing it around the top to make sure that the pumpkin won't open up again on its own. Once tight, but not fully closed cause you still want to fit your stem in there, tie it off. And see how you feel about your pumpkin? Is everything in working order? Should you tighten anything? Any loose threads? Your almost done!
5.) Grab some your green materal and cut large circles out to be you pumpkin leaves (don't worry about the circles being uneven because they are ment to look natural).
We found it was a nice effect to use scissors with a serated edge so that the fabric would have more texture to it. But I would only use ones that are ment for fabric or else they will just get stuck in your blades.
6.) Take your pumpkins, cut green fabric and sticks that you have found outside, glue gun and get ready to assemble. Place the fabric over the pumpkin hole, and press in with the stick. No need to make a hole in the green fabric for the stick, as you just pull it out again once you like how it sits and looks and put a fair amout of glue into the stuffing and return the fabric and stick back in to set. You can cut the green fabric up a little more to make it more realistic or shorten it at this time.
Now back to that jute. Is it totally dry? Don't kid yourself, because you won't be happy with the results unless it is. But once it is just simply tie the jute around the stem and watch it bounce joyfully around your new cloth pumpkin.
As you can see I made alot of these beautiful little pumpkins (I was doing a fundraiser for my kitten who broke his femur), and I hope you enjoyed learning about how to make them. Feel free to ask me any questions you might have about them, or share some of your own festive crafts!
-Nymph


You are SO adorable!
ReplyDelete